World of Warcraft Cooking: Red Bean Bun

2 sec cast
Red Beans

With only one ingredient I decided to take a few liberties with this recipe, cause I can tell you without a doubt that just red beans will not get the job done. Like pie, there are two parts to making a bean bun: the filling and the bun. The cooking time of the bun is fixed but the prep work for both the bun and the beans is enormous. Like most bean recipes you will have to allow for soaking the beans in water, so if you think you want to try this, start the bean part the night before. Here is the recipe I will attempt:
3hr. cast - movement will not break cast.
Reagents:
Filling
- 8 oz (about one cup if you don't have a scale) Adzuki beans
- Water for soaking and boiling (approx 3-5 cups)
- 1/2 cup of sugr
- 2 tbsp butter

2. Remove any floaters and rinse the beans.
3. Toss the beans in a pot and cover with fresh water. Bring the beans to a boil, then simmer for an hour or until the bean smooches easily between your fingers.
4. For a smooth paste, press the beans through a sieve/ricer to remove the skins or you can toss em into a food processor. Don't freak out if they look dry and completely unpaste-like. The next step will make everything better.

5. Transfer the paste to a pan or pot and add sugar and butter. The original recipe I pulled the sweet red bean paste from wanted 2 cups of sugar and I used 1 cup. 1 full cup was way too sweet - like cake icing sweet. The next time I make it I am going to reduce the sugar to 1/4 cup, or I will try to substitute dates or a non-sugar sweetener. My dry sieve-pressed beans went from dry, fluffy bean bits to a goop by the fifth stir. Heat up the mix over medium heat and, stirring constantly, reduce the liquid content until the mix resembles a paste rather than runny porridge.
6. Allow the paste to cool and transfer to a container. You can now store the paste in the fridge for about 2 weeks, or use it right away. I found it was easier to roll the paste into little balls if it was cold.


Now for the Buns.
- 3 cups flour (plus another 3 cups on standby for kneading)
- 1/2 tbsp Baking Powder
- 1/2 tbsp salt
- 1 tbsp dry yeast
- 1/4 cup warm milk to activate the yeast
- 1 egg, beaten
- 1 cup warm milk
- 3 tbsp warm butter
- 1 tbsp oil
2. In a small bowl or measuring cup warm 1/4 cup of milk. Not hot, but not tepid either. When you stick your finger in it should like "oh, that's really warm," you know, just this side of uncomfortable. If the milk is too hot it will kill the yeast. Add the yeast and allow it to activate, about 5 minutes.
3. Add the egg and the yeast to the flour mix and stir with a wooden spoon. Once combined, add the 1 cup of warm milk (same temp as the milk you used to activate the yeast) and the butter. Mix your heart out.
4. Once combined, pour/dump the dough onto a floured surface. Have a container (or two) standing by with extra flour for kneading. Knead the dough, should take about 15 minutes or so. I was actually interrupted while I was kneading and I had to run out of the house and pick up the kids. I was terrified that the dough would never forgive me and I'd have to start all over, but no, apparently the dough can be left to it's own devices for 20 minutes without becoming unusable. Full disclosure: I probably used another 3 - 4 cups of flour on the kneading step. That dough did not want to let go of my hands, nor the table. Why? Beats me, maybe I'm still too much of a bread n00b to get it yet, maybe it's cause I left it alone. Maybe it was the milk.
5. Take a very large bowl and coat it in oil. Take the ball of dough and place it in the bowl. turn the ball around to coat the outside with the oil, then cover with plastic wrap and let it rise. You are looking for it to double in size. How long, you may ask? Again, I apologize, who knows. A lot depends on heat, so if you have your house set to 17 degrees Celsius like I do, then it takes about an hour and a half to two hours. If your place is warmer, it may alter the rising time.
6. Now your dough is huge. Excellent. Take it out of the bowl and punch it down. Literally, punch the hell outta it. To divide the dough you grab it with your hands and pinch a piece off, approximately the size of a ball that will fill your hand.
Assembly
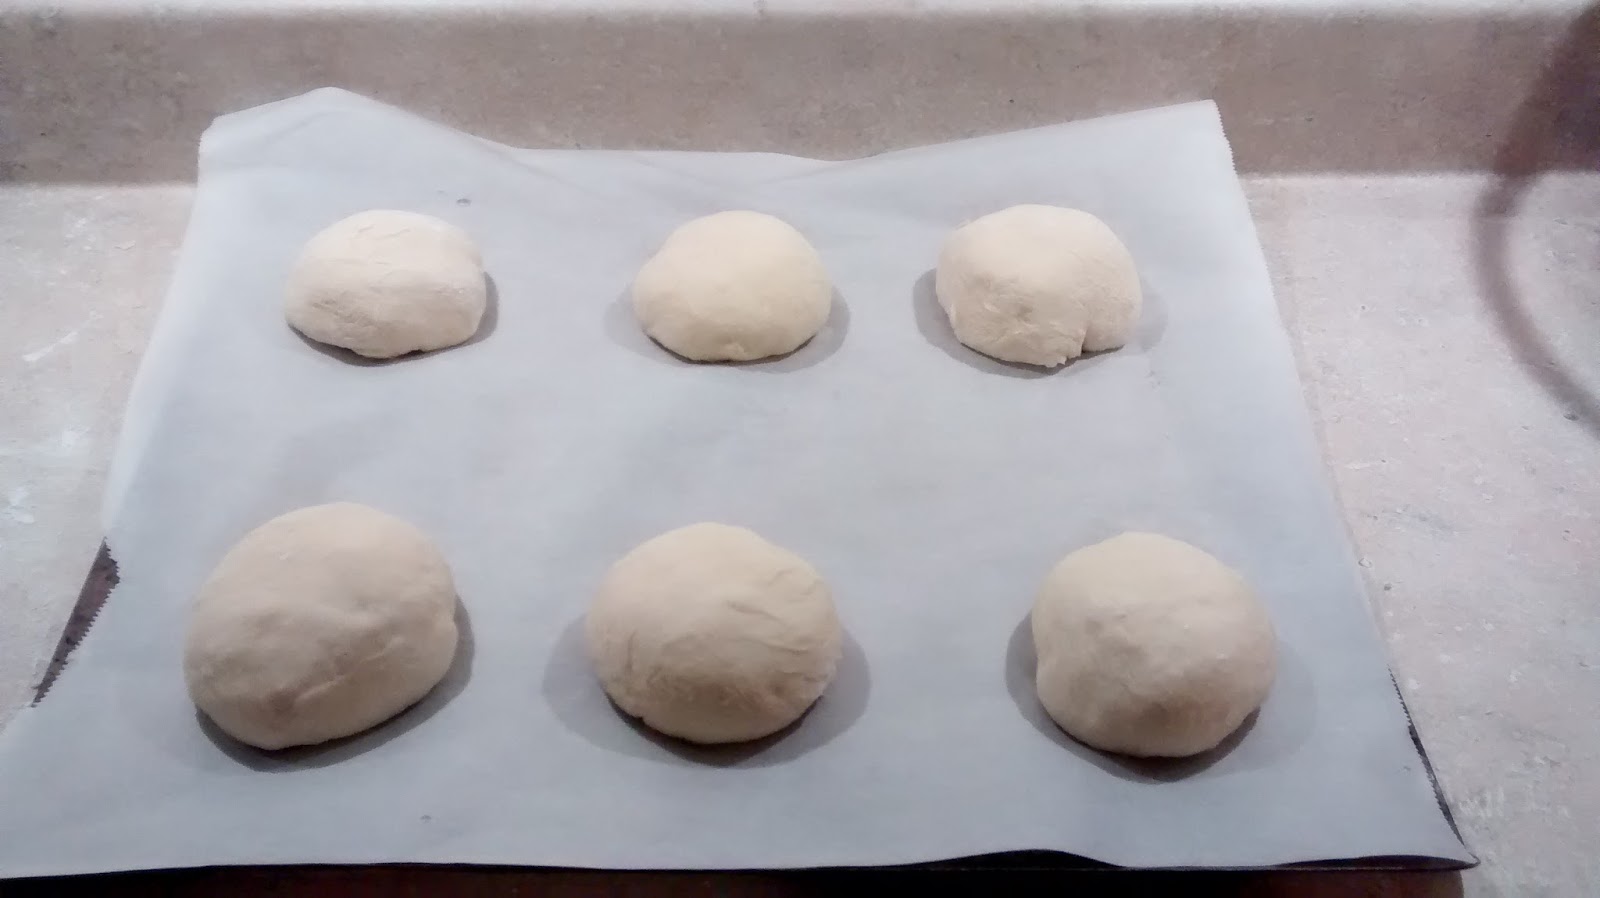
1. Take the balls of dough that you have created. Flatten a ball out on the counter and place about a tablespoon of red bean paste into the center of the dough. Close the dough around the paste and place it on a baking sheet lined with parchment paper. The parchment paper isn't necessary, but it makes clean up so easy that I don't really know how I lived without it.

2. Repeat step one until all your dough balls are paste filled and ready to be baked. Preheat the oven to 375 degrees.
3. Brush the top of the balls with melted butter. Let the balls rest for 15 minutes, then pop them in the oven and bake until they are golden brown, approximately 20 - 25 minutes.
4. Let the buns rest for another 15 minutes. You can brush them again with melted butter if you like.
5. Volia! Red Bean Buns a la World of Warcraft!

Special Thanks to Sandra's Easy Cooking for the bun recipe and China Sichuan Food for the red bean paste recipe.


